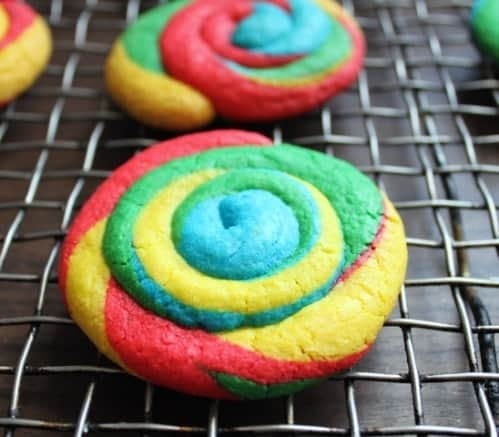
Remember those tie-dye cupcakes I did last year? They were the inspiration for these cookies! Before we begin, let me say one thing: Yes, my dough is bright. If you don’t want to color your dough as aggressively as I did, simply cut back on the amount of food color you use. Pastel tie-dye cookies look just as cute as my brightly colored ones!
This recipe starts innocently enough with butter and sugar. Yum! Butter and sugar. Two of my favorites.
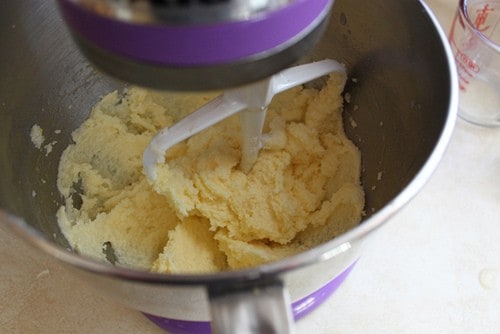
Add two eggs (full recipe follows). Be sure to stop the mixer and scrape down the bowl after you add each egg.
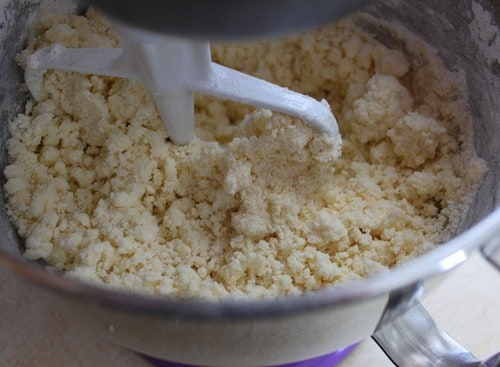
Add dry ingredients. See this? At first the dough appears dry, crumbly even. This is normal. Mix the dough on medium speed and it will go from what you see above to…
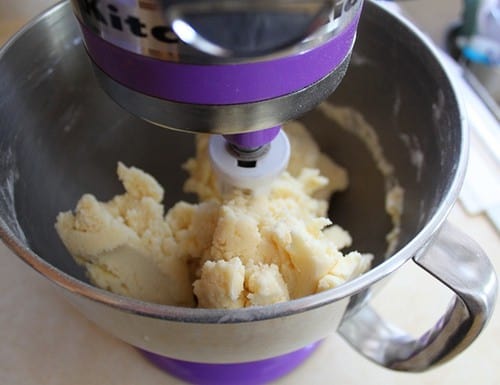
This! Amazing, isn’t it? Time to play with the dough!

Pat the dough into a ball.
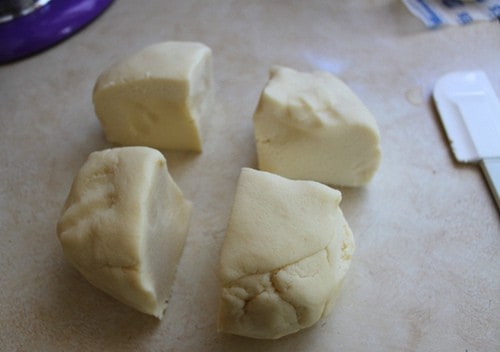
Cut into four even pieces.
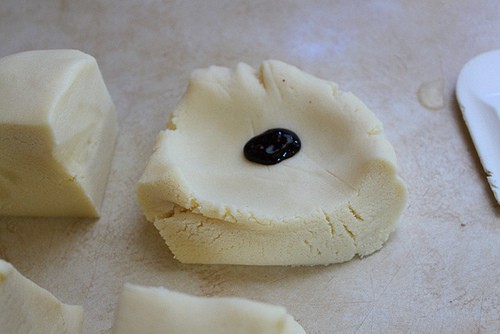
Flatten one of the pieces. Dab a generous amount of paste/gel food color onto the dough.
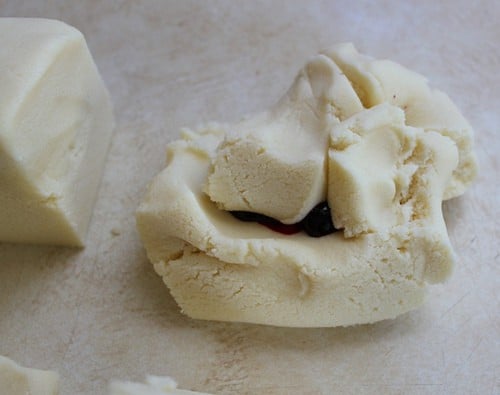
Casually fold over some dough over the blob of food color.
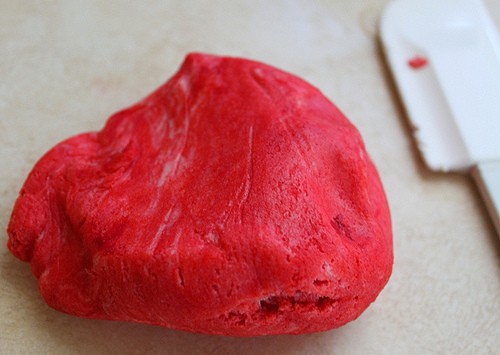
Put on plastic gloves and knead the color into the dough. Don’t have plastic gloves? No problem!
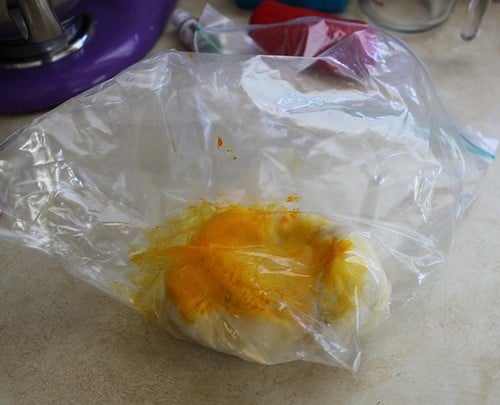
Plop the dough into a plastic bag. Knead the dough in the bag to keep your hands dye-free. (Trust me on this. I kneaded dye into dough without gloves or a bag while testing this recipe. My hands looked liked I’d strangled a Smurf. To death! I’m still haunted by the idea of that much blue under my nails.
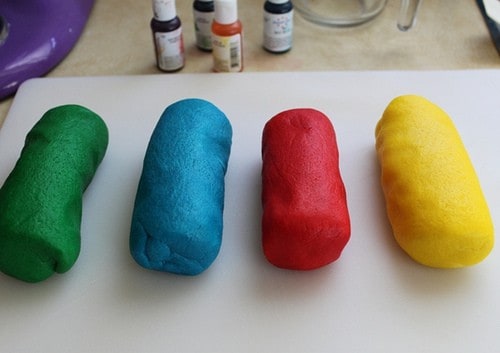
Color all the dough. (To avoid transfer colors from one dough ball to another, change your gloves/bag after coloring each piece of dough.)
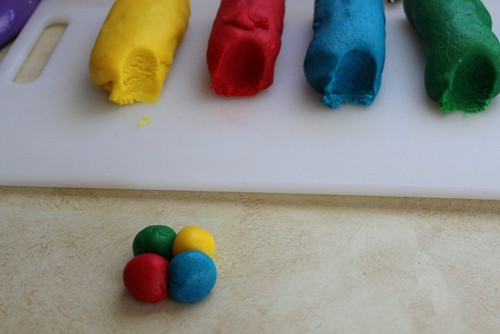
Pinch off about one teaspoon of dough from each color. Roll dough into balls.
Place the dough into two rows.
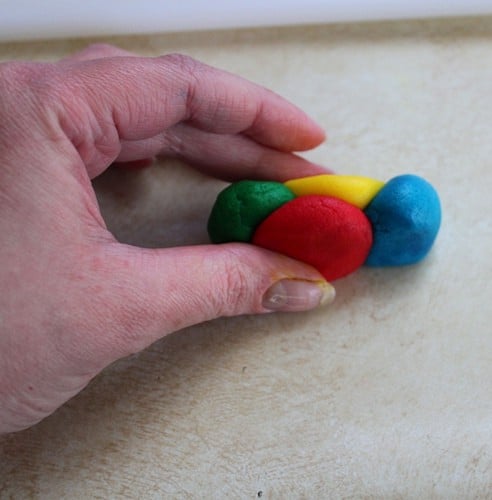
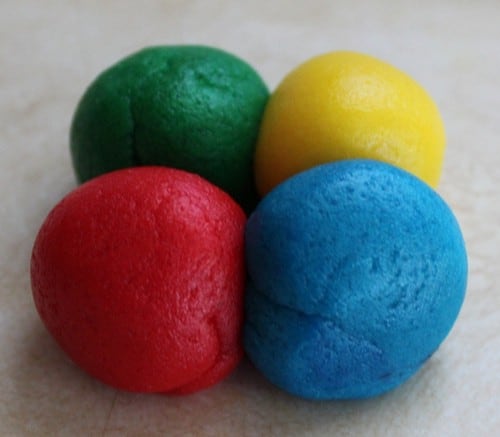
Squish the dough balls together.
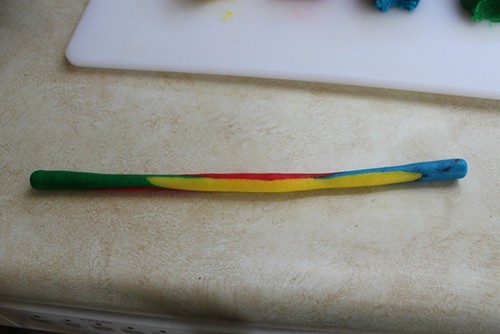
Roll dough into a long log–like rolling clay snakes as a kid! The log should be between 8 to 12-inches.
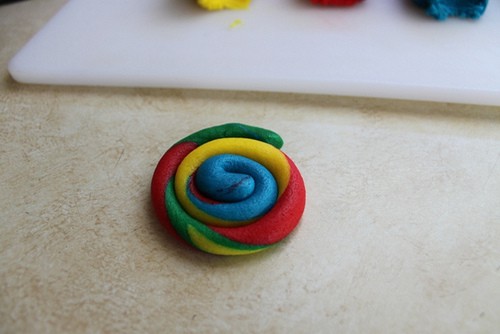
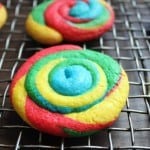
Roll dough log up into a circle and place on a baking sheet.
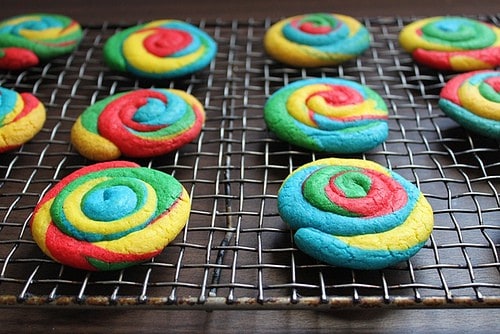
Place baked cookies on a wire rack to cool.
How to Make Gluten-Free Tie Dye Cookies
Ingredients
- 2 cups white rice flour (8 ounces; 226 grams)
- 2/3 cup sweet rice flour (2 2/3 ounces; 75 grams)
- 1/3 cup cornstarch (1 1/3 ounces; 38 grams)
- 1 teaspoon baking powder
- 1/2 teaspoon salt
- 1/2 teaspoon xanthan gum
- 1 1/2 sticks unsalted butter, at room temperature (3/4 cup; 6 ounces; 170 grams)
- 1 3/4 cups granulated sugar (12 1/2 ounces; 347 grams)
- 2 large eggs (about 3 1/2 ounces; 100 grams)
- 2 teaspoons vanilla
- Gel food coloring I used red, blue, green, and yellow.
Instructions
-
In medium mixing bowl, whisk together dry ingredients. Set aside.
-
In a large mixing bowl, cream together butter and granulated sugar until a paste forms. Add eggs, one at a time. Blend until thoroughly incorporated. Stop mixer and scrape down bottom and sides of bowl. Add vanilla. Mix to combine.
-
Add dry ingredients. Mix until a dough forms. At first, dough will appear dry. After about 30 seconds of mixing, it will come together. Chill for 15 minutes.
-
Preheat oven to 350 degrees F. Line a baking sheet with parchment paper.
-
Divide dough into four equal pieces. Dab a generous amount of food color onto one of the dough pieces. Knead food color into dough. (You might want to wear plastic gloves or knead the dough in a plastic bag to avoid dying your hands.) Repeat until all dough is colored.
-
Pinch off about one teaspoon of dough from each colored ball. Roll dough into small balls. Press dough lightly together to form a square. (There will be two rows of two dough balls each.)
-
Roll dough into a long piece, about 8-inches. Colors blend as you roll the dough. Roll dough into a tight circle and place on prepared baking sheet.
-
Bake for 10-12 minutes or until edges turn lightly golden brown. Remove and transfer cookies to a baking sheet to cool.
Leave a Reply